Transforming a Pig Pen into a Thriving Food Garden
Gardening is a rewarding pursuit, and transforming an underused or unconventional space into a productive food garden is an exciting challenge. Recently, I embarked on an ambitious project: converting an old pig pen into a lush, thriving garden. Here’s the story of this transformation, the steps involved, and the lessons learned along the way.
When I first moved to this property, I found a disused pig pen that hadn't housed animals in years. It was a very unsteady structure, barely fenced and very unprotected, making it an ideal candidate for an experiment! The idea of repurposing this space for growing food appealed to my sense of adventure, sustainability and resourcefulness.
The first step was to evaluate the condition of the pig pen. The fencing wasn’t intact and had pieces of it everywhere. There was also an old structure in the centre that used to serve as the pig’s house that needed to be removed. The soil was nutrient-rich from years of animal habitation but would have killed any plants I tried to grow there, I needed to help the manure and hay compost and break down.
To prepare the soil, we aerated the soil using a broadfork to loosen any compacted areas and turn/mix the manure and hay, helping the decomposing process. We gave it a whole year to break down, turning and mixing the soil with a broadfork many times throughout the year.
The future garden patch was so hot from the composting process it melted the snow that was on it all winter. It ended up taking longer than expected, but finally the native plants and weeds took over the area. This let us know it was finally ready to roll!
By this point we had found that there was a number of old tree stumps and roots throughout the whole area just below the surface, so using a roto-tiller was not an option. We spent countless hours with cutters, pry bars, shovels and a sawzall to finally have a usable area. Now we are able to use the roto-tiller to turn and aerate the area getting it ready for planting.
Check out the video at the top of this article showcasing the pen soil preparation this spring.
Given the irregular shape of the pen, I decided that rows running east/west would get the most use out of the space. I don’t use any wood boards for raised beds since I already have a very hard time with slugs and snails, and any wood that I introduce just increases their numbers. The lower half of the area is close to a water source that takes until the beginning of June to dry up enough to really use, so for now I’m only experimenting there with water loving and rot resistant varieties of plants until I can build up the area over time.
Choosing the right plants was essential due to the environmental challenges the area has. We selected a mix of vegetables and flowers to create a biodiverse garden using some companion planting to keep everything as pest free as possible. The first year we chose tomatoes, peppers, zucchini, melons, beans and squash, along with some marigolds and nasturtiums to attract beneficial insects and deter pests.
This year we made some alterations to the plant list based on what plants worked the best the first year, so we went with cucumbers, squash, pumpkins, beans, melons and marigolds in the old pig pen, moved the peppers to a much dryer garden plot, and kept the tomatoes in very large pots. I did however still plant a few hot peppers in the pig pen garden to serve as pest a deterrent.
With the soil prepared and plants chosen, it was time to plant. I had started all the seeds indoors (see our post on starting seedlings indoors here) and transplanted them once they were robust enough to handle the outdoor environment, following our planting calendar (check out our planting calendar here) to make sure the timing was right for all the different plants.
In year one, we installed row supports for all of the climbing plants made of some tall thin pines we had to cut down and some jute twine to hold it all together. This did work although by the end of the season the plants had become so heavy that it all needed some reinforcement and lots of maintenance. This year we are going to try something similar but starting off with a lot more support creating a much stronger scaffold.
Check out this video of the planting process I’ve done so far this year. I’ll update this post with the video installing the garden supports and final touches soon.
No transformation is without its challenges. Here are some hurdles I faced along the way so far and some of the fixes I’ve tried.
Since there is no fencing, the deer and other wildlife have a bad habit of wandering through the garden, snacking of anything in their path. Tomato plants seem to deter the deer but they are unaffected by hot peppers. They love all beans and left us with none!
For insects, we relied heavily on companion planting, chickens monitoring the area, and setting slug/snail traps help keep their numbers down. I use hot peppers planted in random spots throughout the garden to deter smaller creatures like rabbits, squirrels moles and voles.
The tomatoes got affected by rust and anthracnose in the first year, so although we did get a lot of tomatoes, the plants struggled and didn’t give us nearly what we had hoped for. We opted to take the tomatoes right out of that garden this year and keep them in pots instead, giving us much better control over soil issues.
The lower half of the garden stayed pretty soggy in the first year, so anything planted in that section really didn’t do very well. Building up the area will be required before it’s really usable in the future, since overly wet and poor draining soil is just inviting disease.
Adapting to unpredictable weather patterns with row covers and shade cloths helped protect the plants and extend the growing season. We have successfully tried giving surviving plants late in the season small tents to extend their growing by a few weeks, giving remaining fruits and vegetables enough time to ripen.
The transformation of the pig pen into a food garden has been a resounding success. The garden now produces an abundance of fresh vegetables, reducing my reliance on store-bought produce and giving me a wider range of different types of vegetables not found in the store, contributing to a more sustainable lifestyle. The project also created a beautiful, serene space that I enjoy spending time in, nurturing both the plants and my own well-being.
1. Patience and Persistence: Gardening is a marathon, not a sprint. Patience and persistence are key to overcoming challenges and achieving long-term success.
2. Adaptability: Being flexible and willing to adapt to changing conditions ensures that the garden continues to thrive.
3. Sustainability: Using reclaimed materials and organic methods not only benefits the environment but also creates a healthier, more resilient garden.
Converting a pig pen into a food garden has been a rewarding journey and will continue to be over the years. It’s a testament to what can be achieved with creativity, hard work, and a commitment. If you have an unused space on your property, consider the possibilities. You might just create your own green oasis and enjoy the fruits (and vegetables) of your labor. Happy gardening!
Categories: Experiments Tags: #Pig Pen, #Pig Pen Garden
 November 16th, 2023
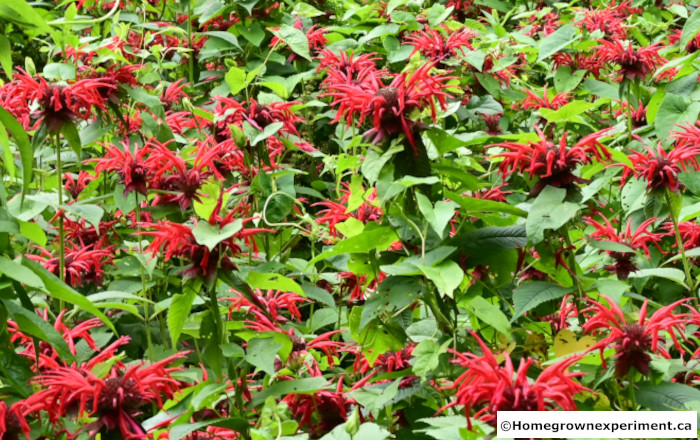
In the world of gardening and herbalism, few plants capture the imagination quite like bee balm (Monarda didyma).
 July 3rd, 2024
From sweet bell peppers in a rainbow of colors to spicy jalapeños and even the intimidating ghost peppers, the possibilities are endless.
 August 23rd, 2023
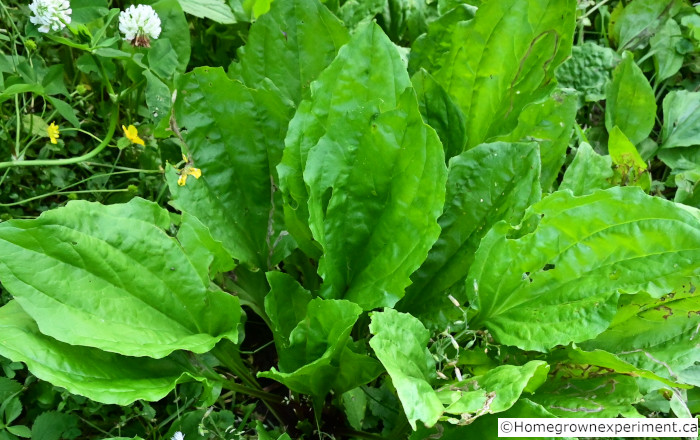
In the world of herbal medicine, few plants are as revered and relied upon as plantain (Plantago major).
 May 11th, 2024
This mesmerizing light display is a breathtaking testament to the power of our planet's atmosphere