Creating a Vibrant Pepper Garden
Gardening has always been a passion of mine, a way to connect with nature and bring a little bit of magic into my daily life. Last year, I decided to take on a new challenge this spring: starting a dedicated pepper garden instead of just a few intermixed in the veggie garden. So far this venture has been a rewarding gardening experience.
The first step in my pepper-growing adventure was choosing the varieties I wanted to plant. With so many options out there, it felt like being a kid in a candy store. From sweet bell peppers in a rainbow of colors to spicy jalapeños and even the intimidating ghost peppers, the possibilities were endless. I settled on a mix of sweet and hot peppers to satisfy my love for both sweet and spicy flavors.
I tried to think of how I could get as many pepper plants as possible into the space I have for them while still being able to easily harvest them. I chose a sunny spot in the backyard that gets at least 8 hours of sunlight each day since peppers thrive on sunlight. I decided not to use raised beds since I only had limited space and figured it would lower the total amount of plants I could grow.
Preparing the soil was the next step. I cleared out the existing wild plants that were growing there and then used the roto-tiller to really mix up and aerate the soil. I also worked in plenty of compost to enrich the soil with organic matter. Peppers do best when the soil PH is between the range of 6.0 to 6.8, so it’s a good idea to test your PH and amend accordingly.
Here’s a chart explaining the different PH levels:

Starting pepper seeds indoors was an exciting part of the process. In early February (12 weeks before last frost), I planted the seeds in seed-starting trays filled with a high-quality seed-starting mix. Placing the trays in a warm, sunny spot and using grow lights ensured the seedlings received the necessary 14-16 hours of light each day. Watching those tiny green shoots emerge from the soil was incredibly satisfying.
As the seedlings grew, I made sure to keep the soil moist but not waterlogged. I also kept an eye on the temperature, maintaining a warm environment of around 75°F to 85°F.
Unfortunately, this is where the disaster started... Aphids! They attacked the little seedlings and stunted them. I did manage to fend off the invasion with insecticidal soap and neem oil, but not soon enough to prevent the seedlings from getting stunted. It is now July and I still have these inside under grow lights with no chance of putting them outdoors, so instead they will become an indoor grow tent experiment (A future post will be about this!)
Instead, I have resorted to purchasing the pepper plants this year, which although it not what I would have preferred and is a more expensive option, it is still way better than purchasing the grown peppers from the grocery store.
Transplanting has to be done in stages. Ensure the young plants are well-acclimated to the outdoor conditions by spending a week hardening them off by gradually exposing them to the outdoors. Once they are ready, carefully plant them in the prepared soil, spacing them about 18 inches apart.
Since I had to purchase my plants, the plants were already hardened off to the outdoors, so I got right to planting. I like to lay out the pots before actually planting them to allow me to adjust the layout before it becomes permanent.
Watering has become a regular part of my routine, keeping the soil consistently moist without overwatering. Adding mulch around the plants can help retain moisture, suppress weeds, and regulate soil temperature. Fertilizing every few weeks with a balanced organic fertilizer keeps the plants healthy and vigorous.
I am looking forward to watching my pepper plants grow and get to harvest the rainbow of peppers I planted. So far they have tons of flowers and also have many tiny peppers growing. So far so good, and I will update this post as the summer goes on!
Categories: Experiments Tags: #Peppers, #Hot Peppers
 November 16th, 2023
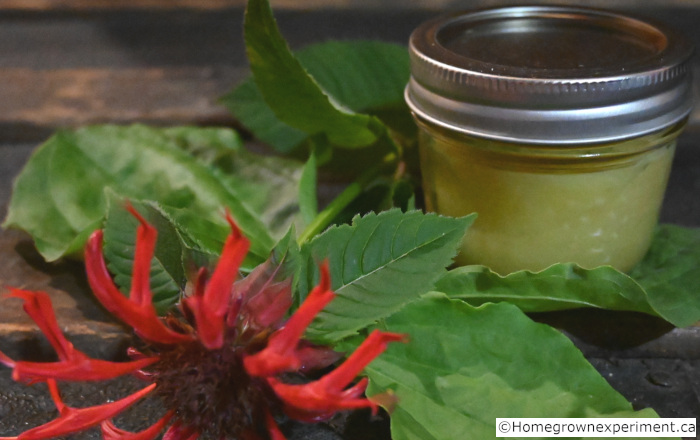
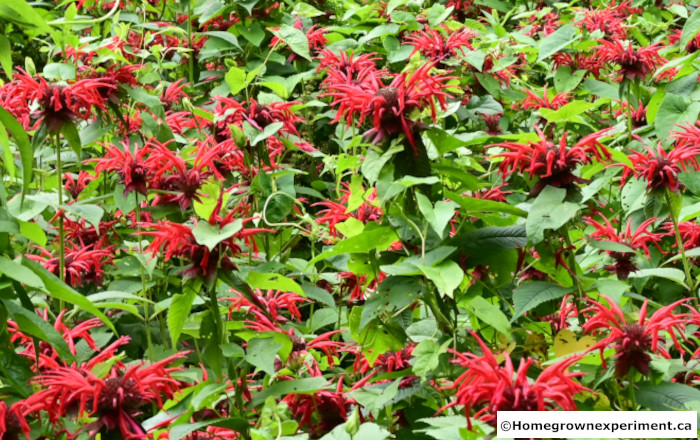
In the world of gardening and herbalism, few plants capture the imagination quite like bee balm (Monarda didyma).
 July 3rd, 2024
From sweet bell peppers in a rainbow of colors to spicy jalapeños and even the intimidating ghost peppers, the possibilities are endless.
 August 23rd, 2023
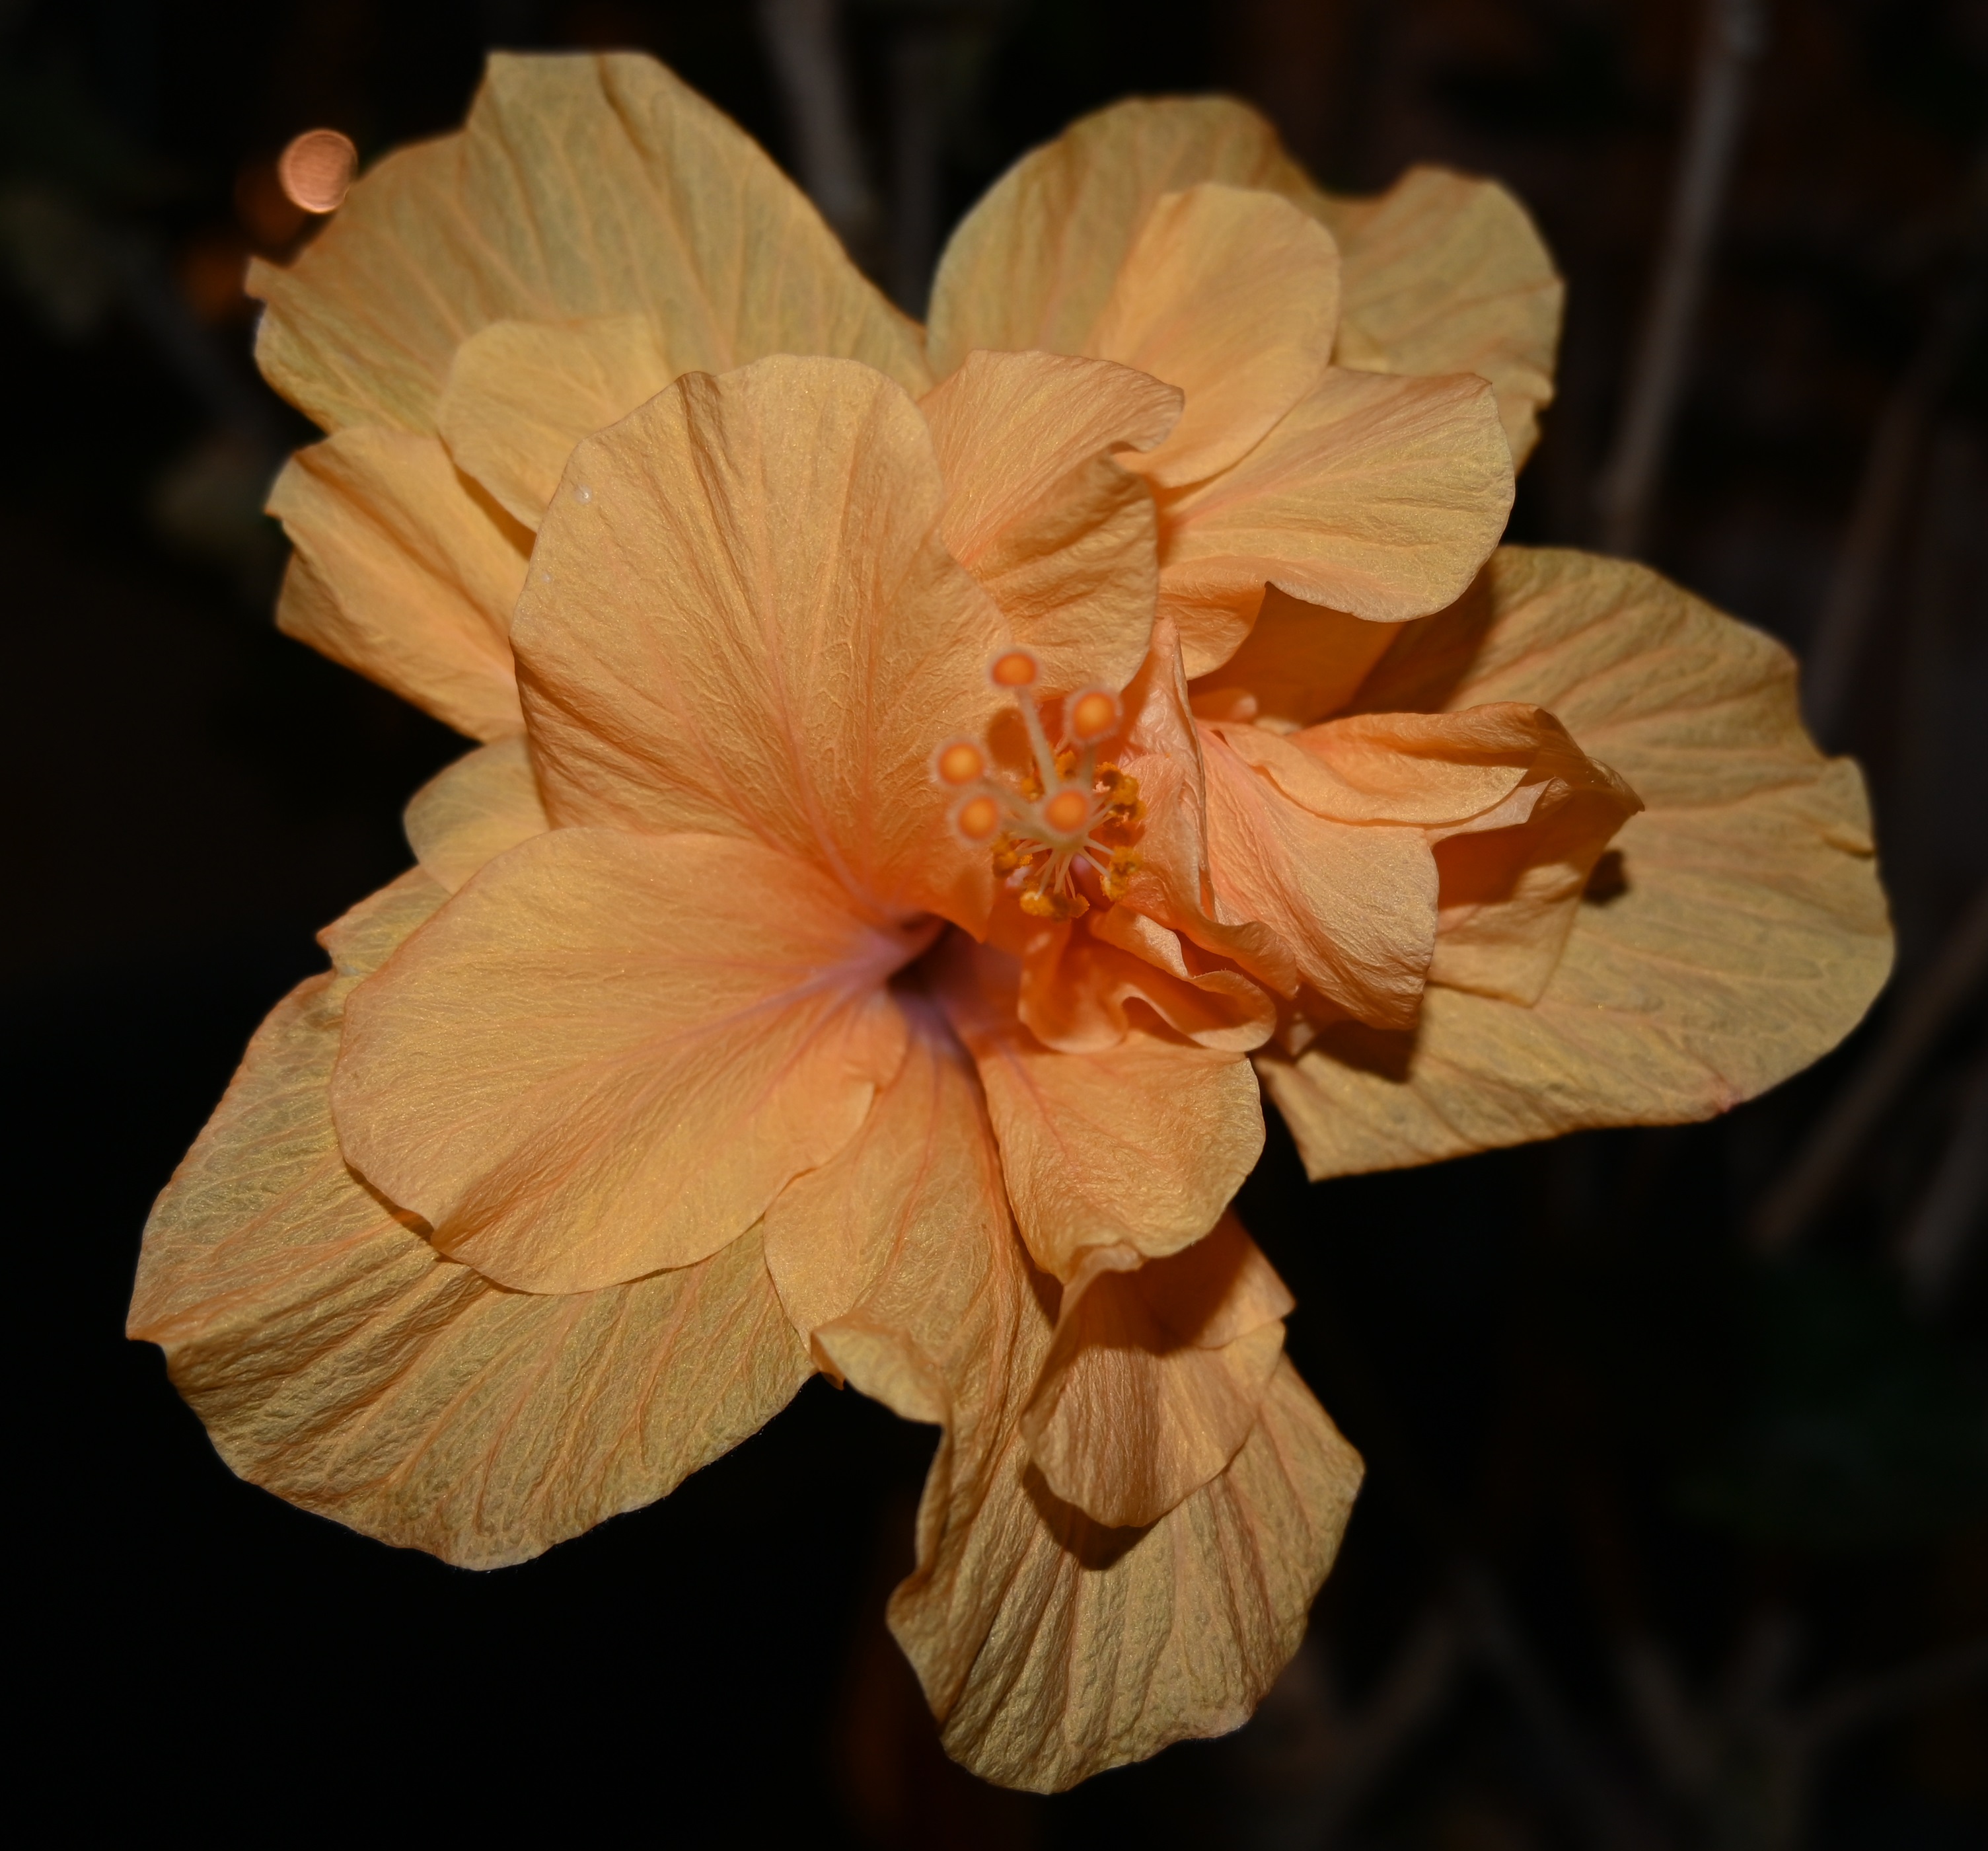
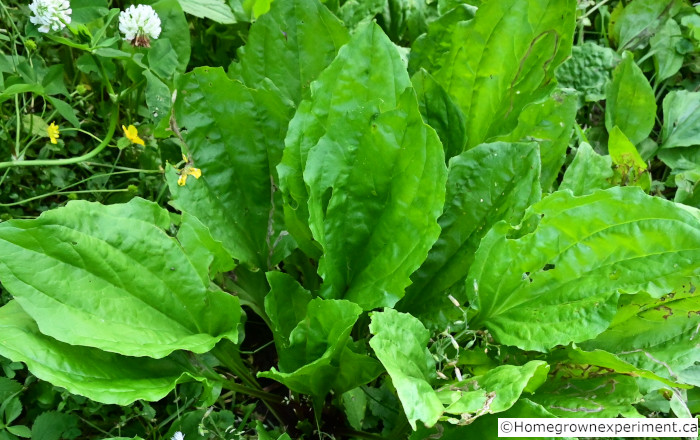
In the world of herbal medicine, few plants are as revered and relied upon as plantain (Plantago major).
 May 11th, 2024
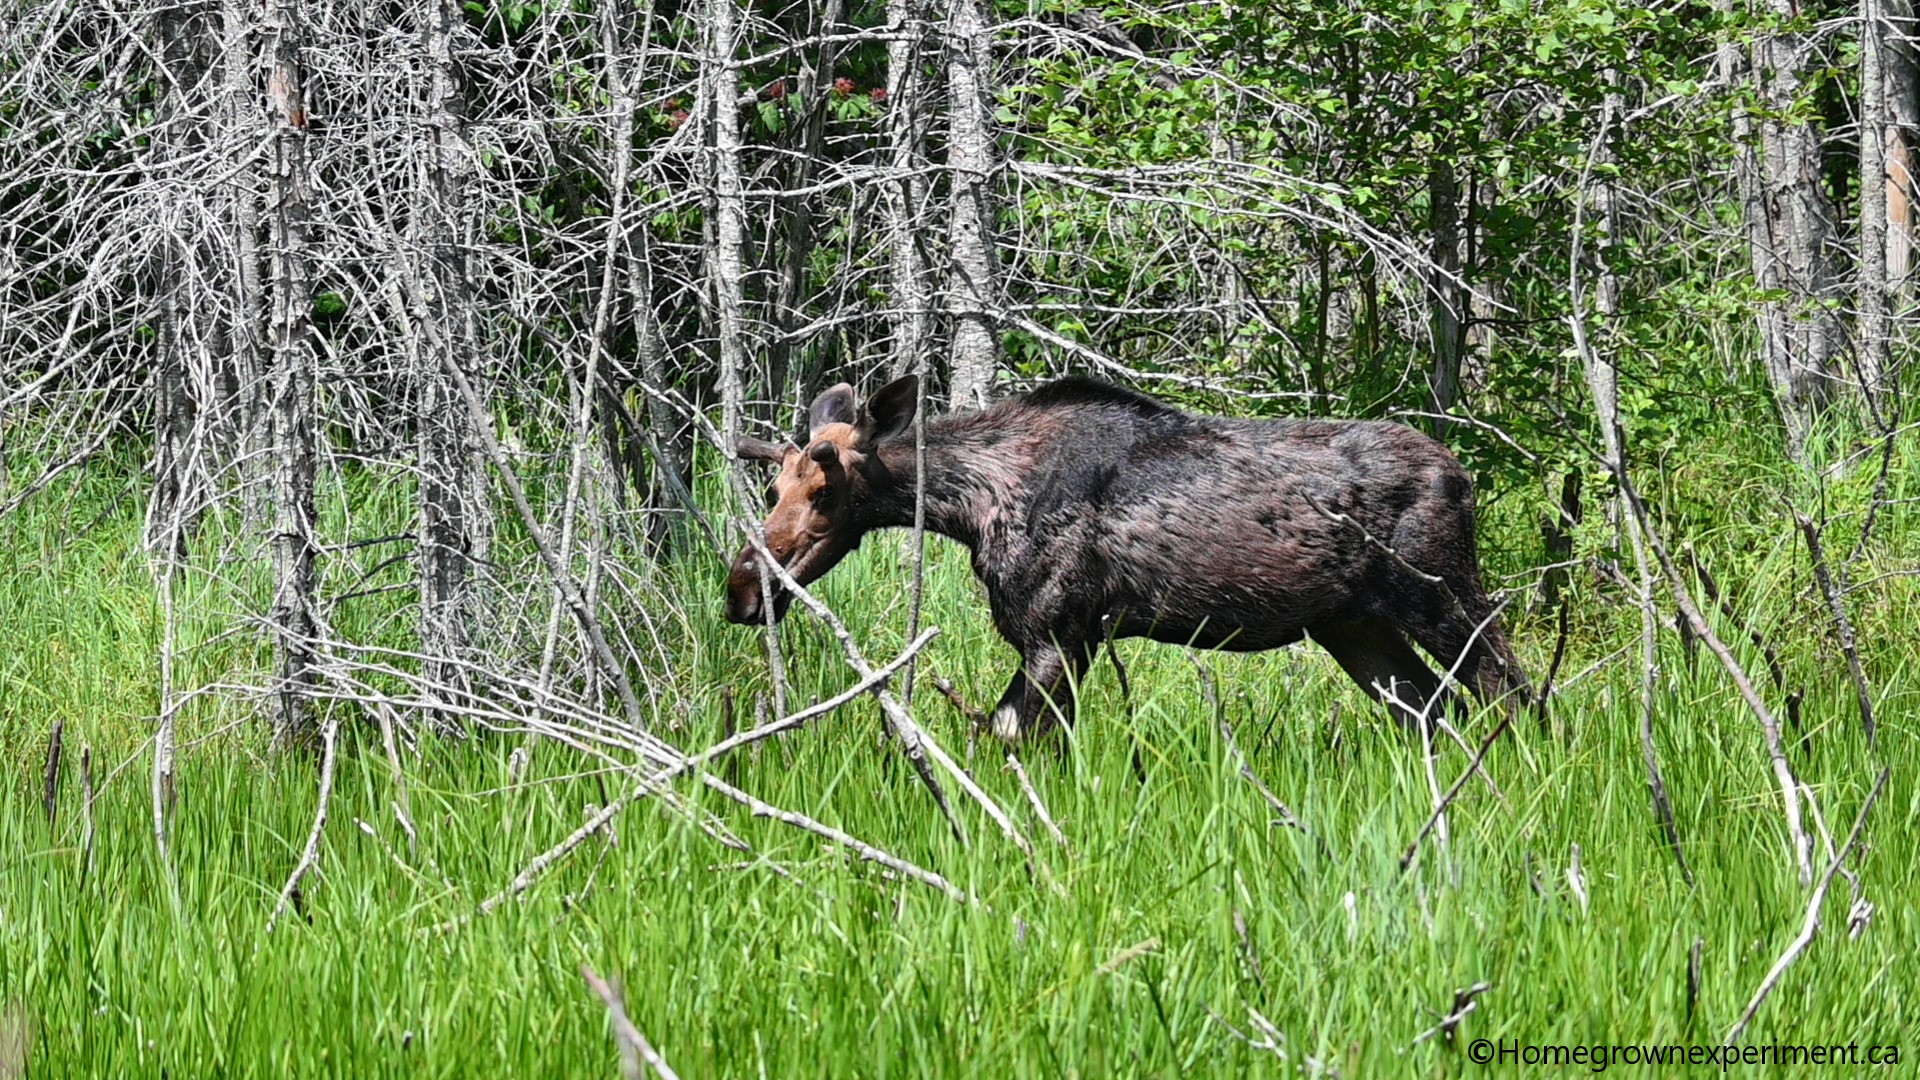
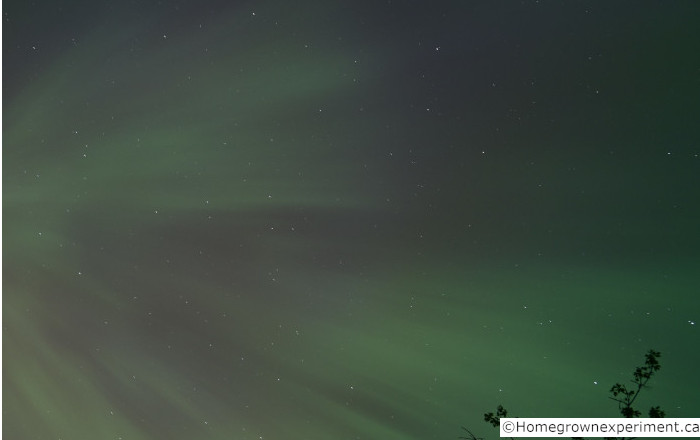
This mesmerizing light display is a breathtaking testament to the power of our planet's atmosphere